Getting Started
In this tutorial, you’ll learn how to create feature flags and call them from your application using Unlaunch.
Prerequisites
To get started, you must sign up for Unlaunch. If you haven’t done so already, please visit our registration page to create a free account.
To create a new account, you’ll need a valid email address. To complete registration, we’ll ask you to provide your company name and create your first project. Each projects gets two environments by default: Production and Test. For this tutorial, you will use the Production environment. To learn more about projects and environments, please see this guide.
Main Concepts
Let’s review a few important concepts quickly that will help you understand Unlaunch and this guide better.
Feature flags are akin to having if/else blocks in your code where you can change the condition on the fly without changing or deploying your code. The conditions are known as variations. A typical use of variation is to indicate whether the feature is on or off:
let newLoginVariation = // fetch feature flag

if (newLoginVariation === 'on') {
  // show new login form
} else {
  // show old login form
}
Variations are for deciding which branch (if or else) to execute in your code. They are always of type string. Unlaunch feature flags have two variations by default but you can add more than 2 variations (multivariate flags.)
You can also attach dynamic configurations to variations to change configuration on the fly such as UI button color, banner text, special offers, algorithm weights, and anything else. Dynamic configuration is not covered in this tutorial.
For more information on feature flags, please see this blog post.
Step 1: Create New Feature Flag
In this step, you’ll create your first feature flag. A feature flag can have many options including targeting rules, configuration, and more. We won’t cover all possible options here. In this example, we’ll create a simple feature flag that has two variations that you can control to show or hide a feature.
To create a feature flag:
- Open the Unlaunch Console at https://app.unlaunch.io
- Switch to Production environment using the dropdown on the top-left corner.
- From the Feature Flags page, click on Create Feature Flag.
- The New Feature Flag screen asks you to input values to create a new flag. In the Name field, type in the name that you’d like to call this flag e.g.
2fa-rollout. Leave the rest of the fields to their default values and click on Save. - The feature flag is created immediately and you’re taken to the Flag Details page. On this page, click Enable Flag to enable your flag in the current environment. On the popup asking you to confirm, click Yes.
At this time, you have created a feature flag with two variations : on and off and have enabled it. Because this flag is enabled and there are no targeting rules, it will serve variation specified under Default Rule, which is on. In other words, anyone who calls this flag will get the on variation. We can change this behavior, as we’ll see later.
Your feature flag is now ready to use. In Step 2, we’ll learn how to create attributes and use rules to target specific segments of your users.
Step 2: Use Attributes and Targeting Rules
Targeting segments of users is a common use case. For example, you might want to show a feature only to users belonging to a certain geographic location such as South America. Unlaunch provides powerful mechanisms to target specific segment of your users using attributes and targeting rules. To learn more about attributes and targeting rules, see this.
Let’s create a targeting rule that returns the “on” variation for registered users. Everyone else gets the “off” variation. This step is optional and you can skip to the next step if you like.
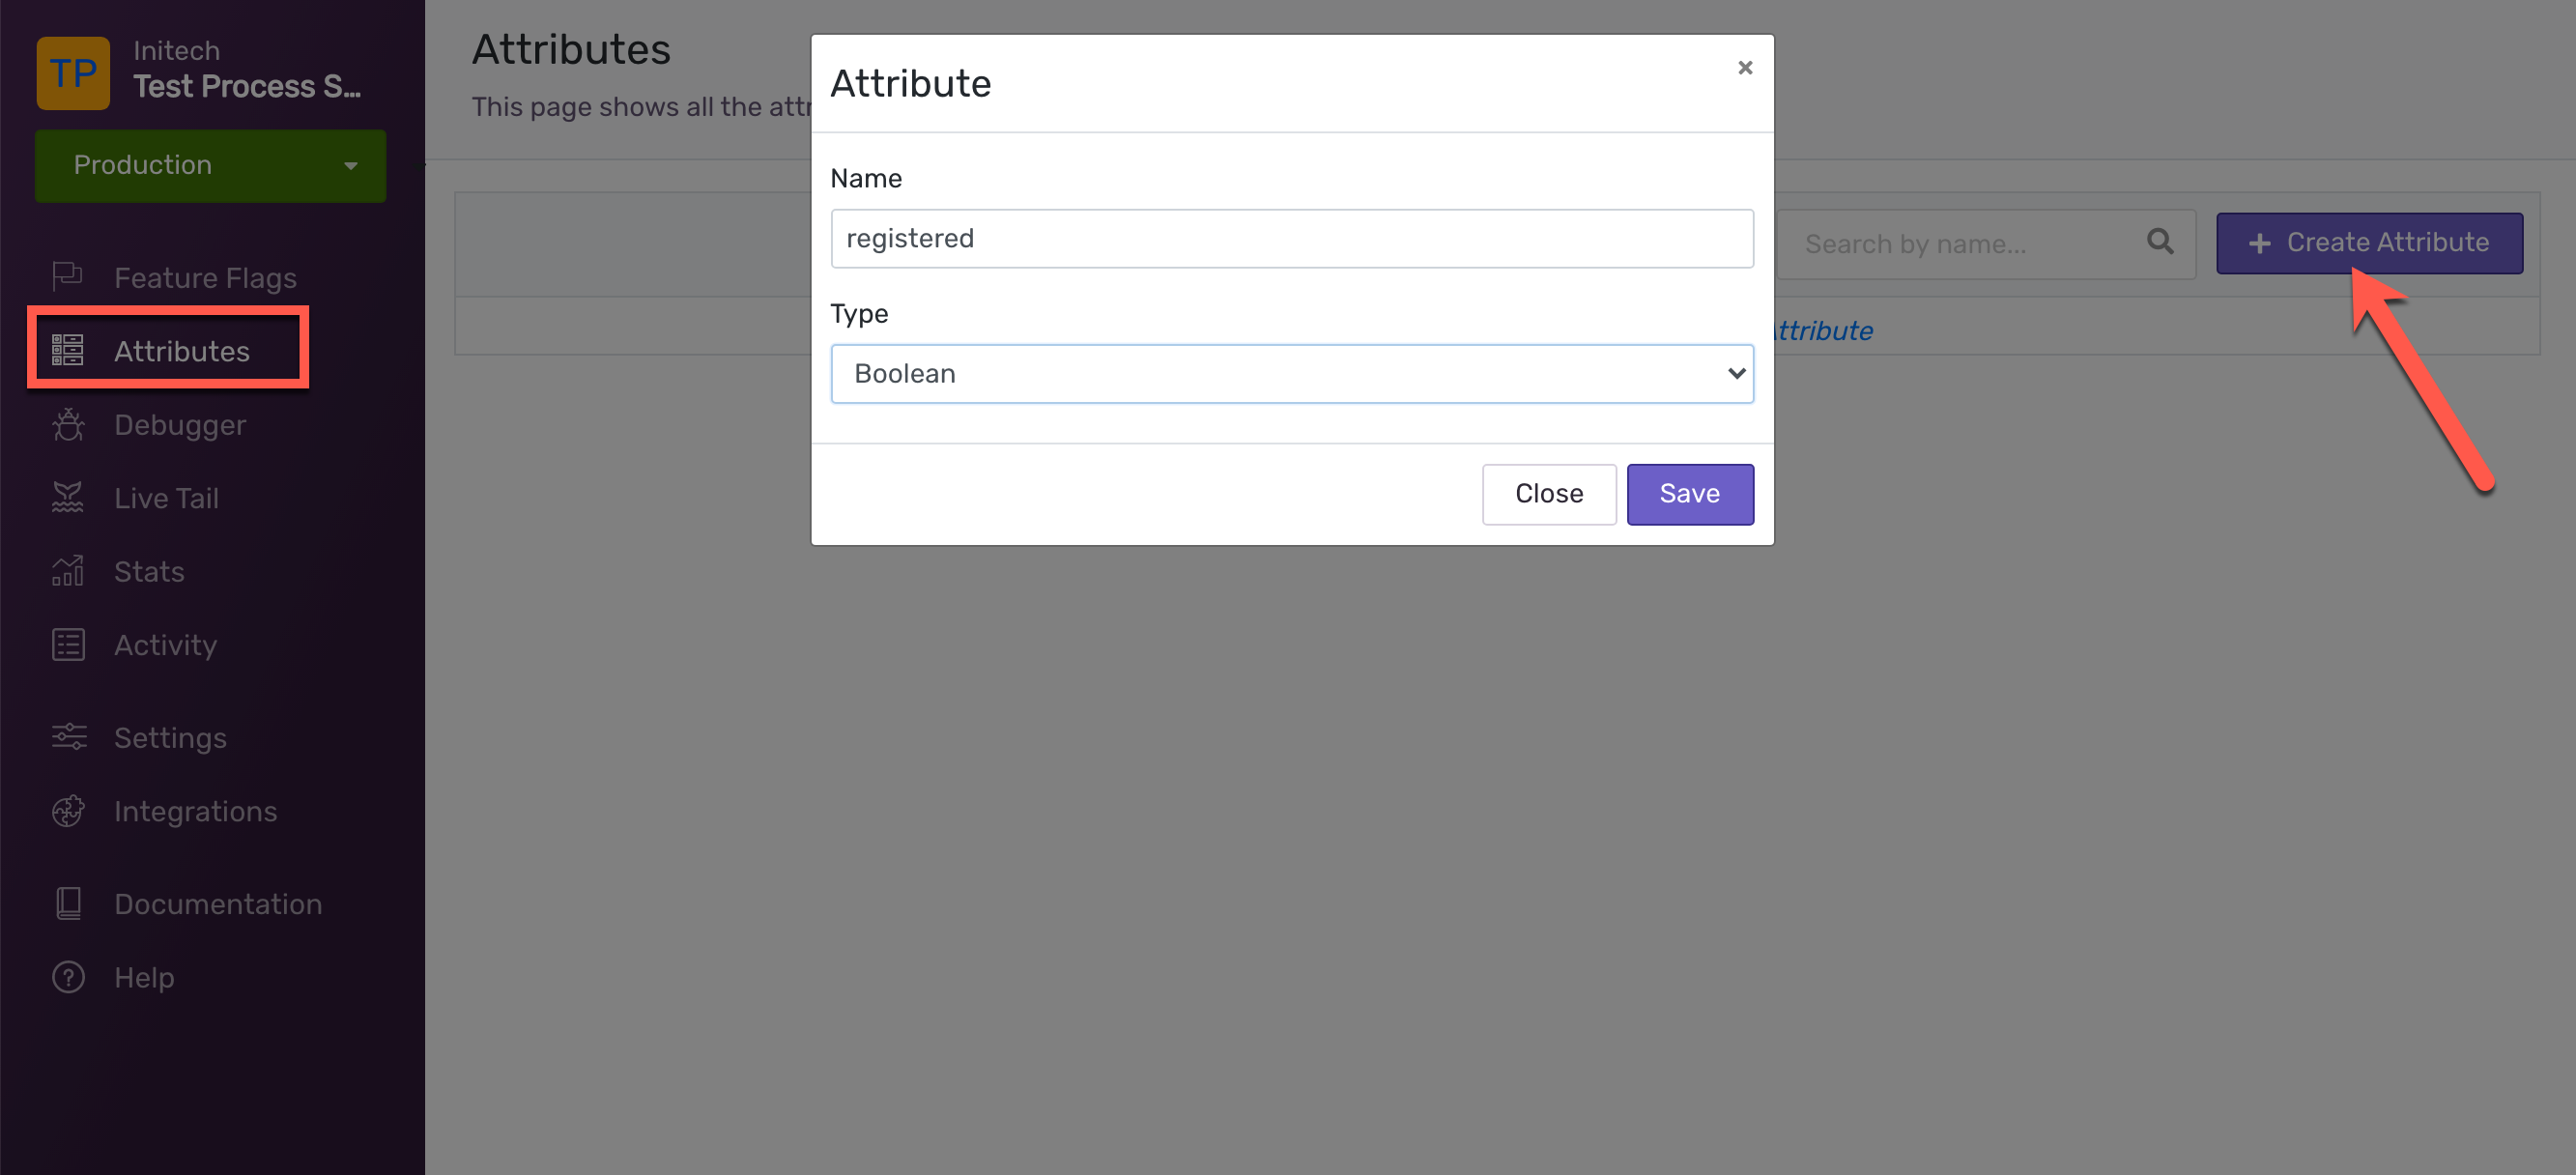
Create New Attribute
- Go to Attributes page using side navigation.
- Click on Create Attribute.
- Define name and select appropriate type for attribute. Hit save button.
- Go back to feature flag targeting screen.
Creating Targeting Rules
- Click on the Add Rules button.
- Select attribute along operator and fill in value for attribute.
- Click Save Changes.
- To get your feature evaluated through rule(s) you must enable targeting by clicking Enable button on top. If your flag is not enabled you will be served default variation.

Step 3: Evaluate the Feature Flag in Your Application Using SDKs
To use feature flags in your application, you’d need to integrate one of Unlaunch SDKs depending on which programming language your app is written in. In order to integrate SDKs with your project, you’d need to initialize it with an SDK key
Each Unlaunch environment has a unique set of SDK keys for security and performance reasons. You can read more here.
For this tutorial, we’ll use the Production environment. Follow the steps in the diagram below to choose an SDK key.

This step will depend on the type of SDK that you choose depending on the programming language you’re using. In a nutshell, these are the steps you need to follow to start using feature flags in your applications.
- Integrate the Unlaunch SDK in your project. This is usually done using a dependency manager like Maven, NPM, or Nuget.
- Import the Unlaunch libraries in your project to initialize the client. The client is the primary way your project uses the Unlaunch SDK and communicates with Unlaunch servers.
- To initialize the client, you must provide it with an appropriate SDK/API key. The SDK key can be of three types: Server key, Mobile/App key or Browser/Public key. It uniquely identifies your project and environment and authorizes your project to use your feature flags.
- Evaluate feature flags using the client to control which variations your users will see. Feature flags are unique identified by keys. You can also control targeting by providing user IDs and attributes and defining targeting rules based on user attributes. For example, show features only to registered users.
The first step is deciding whether you should use client-side or server-side SDK.
Follow SDK integration guides to integrate SDK in your application:
Server-side SDKs:
Client-side SDKs:
(Optional) Integration Instructions for the Java SDK
If you are using the Java SDK, here’s how you can integrate it. This assumes that the feature flag you have created has the key 2fa-rollout.
First add the dependency:
<dependency>
    <groupId>io.unlaunch.sdk</groupId>
    <artifactId>unlaunch-java-sdk</artifactId>
    <version>1.0.0</version>
</dependency>
Then, use the following code where you wish to use the feature flag:
// initialize the client
UnlaunchClient client = UnlaunchClient.create(->"INSERT_YOUR_SDK_KEY_HERE"<-);

// wait for the client to be ready
try {
  client.awaitUntilReady(2, TimeUnit.SECONDS);
} catch (InterruptedException | TimeoutException e) {
  System.out.println("client wasn't ready " + e.getMessage());
}
// get variation
String variation = client.getVariation("2fa-rollout", "user-id-123");

// take action based on the returned variation
if (variation.equals("on")) {
    System.out.println("Variation is on");
} else if (variation.equals("off")) {
    System.out.println("Variation is off");
} else {
    System.out.println("control variation");
}

// shutdown the client to flush any events or metrics
client.shutdown();
Step 4. Analyze Impact
With the help of Insights graph, you get clear visibility of how many times a variation is served over a period of time and how it is affecting the business.
To navigate to the Insights tab:
- Click the feature flag you wish to analyze.
- You will be landed to flag’s Targeting page.
- Click into the Insights tab.
- Flag Insights graphs are generated on a per-flag evaluation basis. This means that if the same user has evaluated 20 times, the Insights graph records and displays all 20 evaluations.
- Flag variation evaluations can be investigated for last 24 hours, last 7 days, last 14 days and last 30 days.
- There is dropdown on top right to select the desired time period for insights graph.
Step 5: Clean up
After you’ve finished with the feature flag that you created for this tutorial, you should clean up by archiving the flag. If you want to do more with this flag before you clean up, see Next steps.
To clean up your flag:
- In the right sidebar, click on Feature Flags. In the list of instances, select the feature flag you created for this tutorial.
- Click on the Setting tab.
- Click on Archive.
- Choose Yes when prompted for confirmation.